DMX on a Raspberry Pi
When you get a Raspberry Pi, you want to do something cool,
unique and very Pi-ish. This project has some of
that. You can use much of the project on any Linux system, but I do make use of
the PiFace for turning power on/off and the project allows you to create a very
low cost DMX controller.
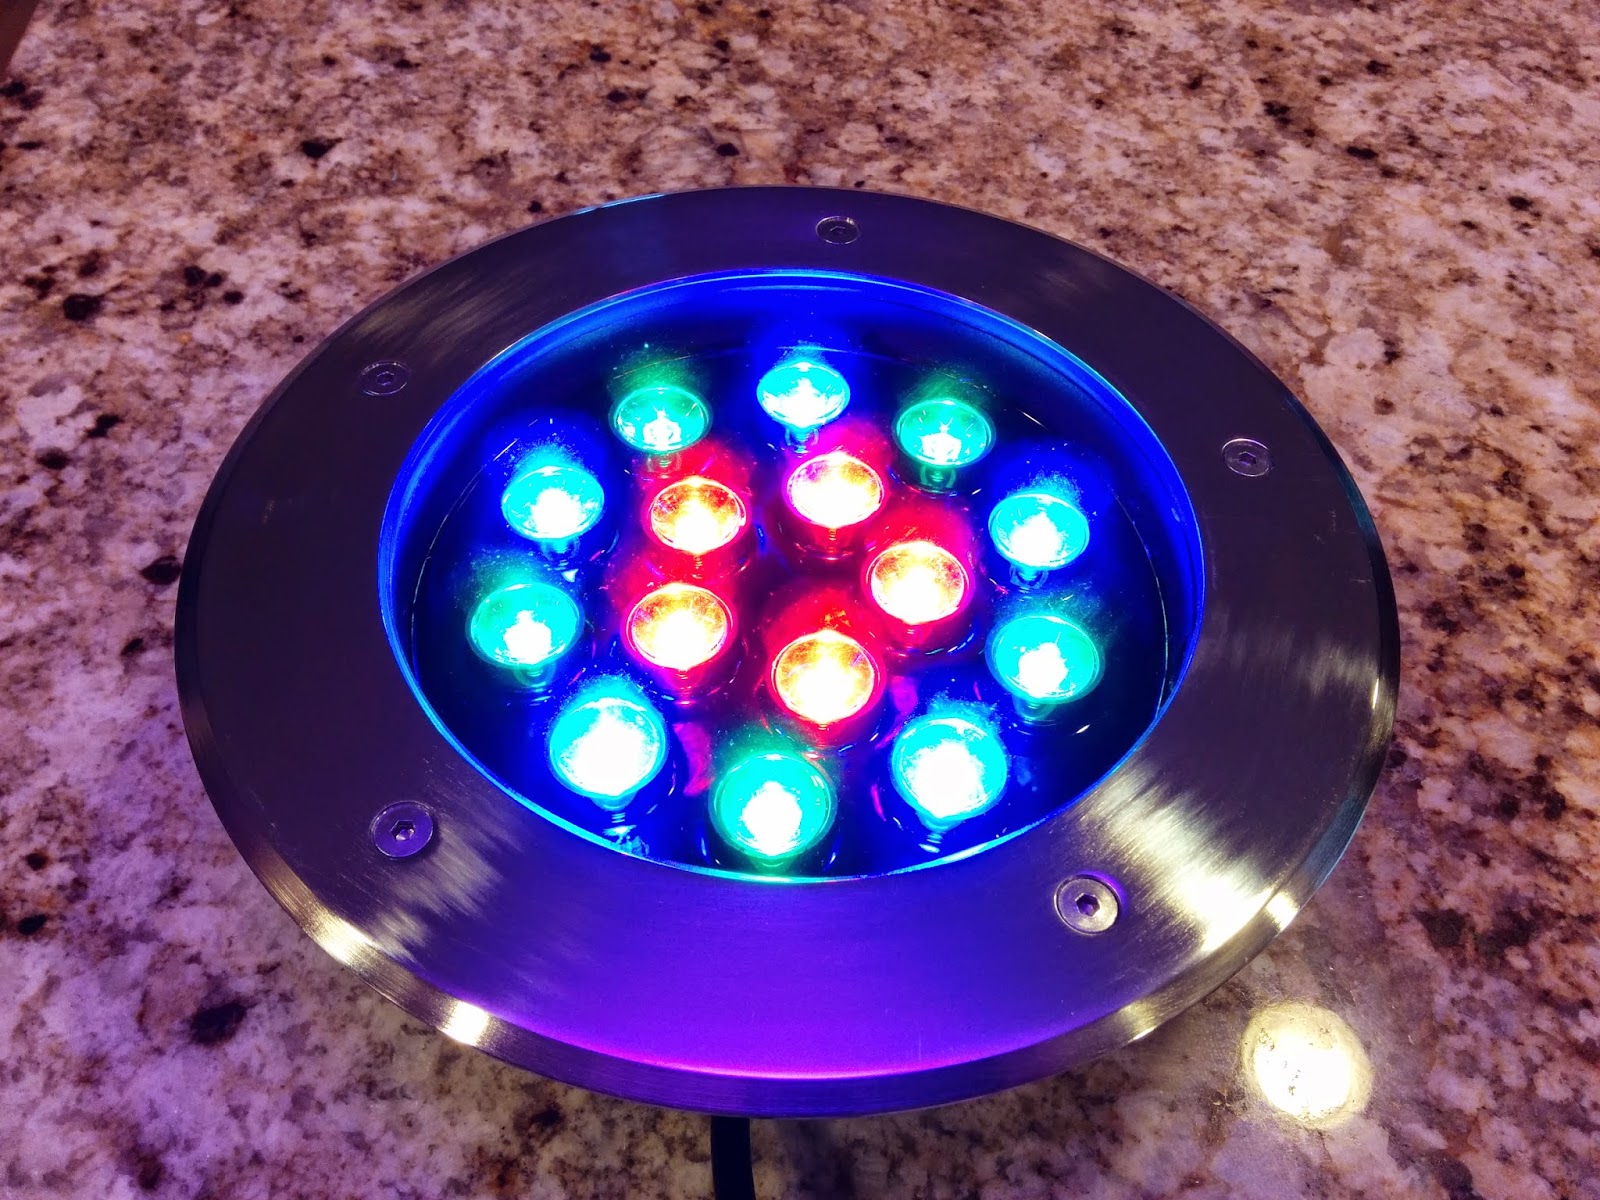 |
| DMX LED Light |
 |
| My Trees rocking out to Enya. They don't know any better. |
DMX uses RS485 for its hardware/signaling. Most people are familiar with RS232, a serial communication relying essentially on three wires (TX, RX and GND). RS485 uses a single twisted pair (two wires wrapped around each other) that is great for a one-to-many communication. On top of the RS485 is the DMX data protocol which provides up to 512 bytes of information per packet. Each packet is made up of a start sequence (a BREAK followed by sending a ZERO byte) and then one or more bytes of information called “channels”. Each channel controls a “dimmer” – that can have a value from 0 (off) to 255 (fully on). Typically a DMX device will consume a number of channels. For example my lights have red, green and blue LEDs so consume three channels, one for each color.
To get DMX running on
a Raspberry Pi, you’ll need a RS485 device. A USB-to-RS485 device runs about
$10. This example uses a generic converter which contains the
“Widely-supported” Prolific PL2303.
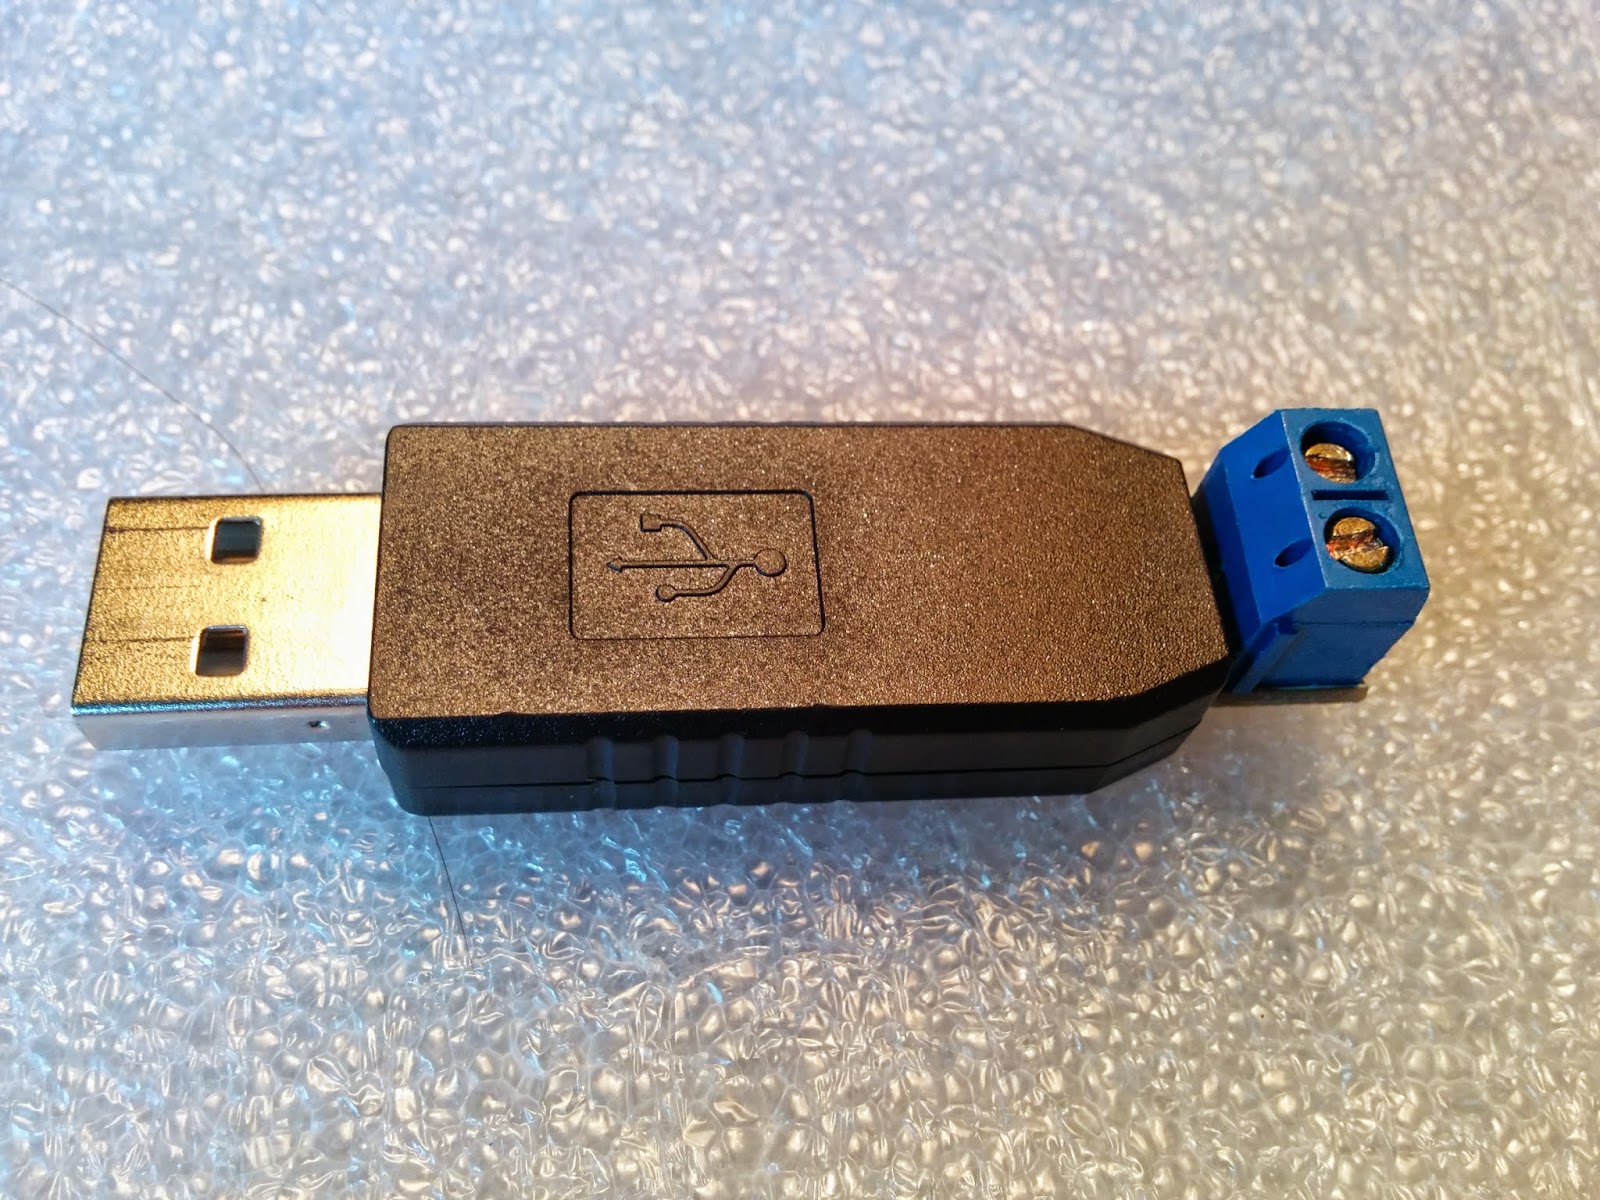 |
| My USB adapter is so generic; it’s probably covered by your healthcare plan. |
Note that the driver and utility are based on the 3.10 version of rapsbian (wheezy).
cat
/proc/version
Linux
version 3.10.25+ (dc4@dc4-arm-01) (gcc version 4.7.2 20120731 (prerelease)
(crosstool-NG linaro-1.13.1+bzr2458 - Linaro GCC 2012.08) ) #622 PREEMPT Fri
Jan 3 18:41:00 GMT 2014
The Modified USB
Serial Driver.
The modified driver is needed to support the DMX baud
rate. It’s the standard USB-PL2303 driver with one BAUD rate change to support
250,000 Baud. For details on modifying your driver (if you don’t want/can’t use
the pre-built driver, read this.)
The DMX utility.
The DMX utility talks to the serial port (/dev/ttyUSB0 by
default) sending DMX packets out to whoever will listen. (Hopefully some DMX
lights)
To see all the options, use
dmx
–h
This will show the following:
DMX
User Space Driver version n.n
--break,
user standard BREAK
--mab=n
set MARK after BREAK value (microseconds)
--mbs=n,
set delay between channels (microseconds)
--mbb=n,
set delay after packet (microseconds)
--init=n,
starting value for channels, deafult is zero
--channels=n,
set the count of channels to transmit,default is 20
--starttype=n,
value for first byte sent
--device=<device>,
serial device to use, default is /dev/ttyUSB0
--e131, enable unicast e1.31 network support
--e131m, enable multicast e1.31 network support
--universe, multicast universe, default is one
--e131, enable unicast e1.31 network support
--e131m, enable multicast e1.31 network support
--universe, multicast universe, default is one
--help,
show help
Here’s a review of the options:
BREAK, this tells DMX to use standard “Linux sized”
breaks. The start of each DMX packet has a BREAK. The standard Linux BREAK is much
longer than required, so there’s some jiggery-pokery to get around this. If
you’re having problems talking to your DMX lights, you may want to enable
‘break’ to use the standard BREAK.
MAB, “MARK after BREAK”, how much to delay between the
BREAK at the start of the packet and sending the first bytes. The default is 12
microseconds, which is what the spec says.
MBS, “MARK between slices/bytes”, how much to delay after
each byte is sent. The default is zero, which means that it’ll send a complete
stream of bytes. If you specify a value, then there’s a delay after each byte
has been sent.
MBB, “MARK before BREAK”, how much to delay between each
packet. The default is zero, but DMX does ensure that the previous packet has
been sent before starting a new packet.
INIT, the initial starting value for the DMX channels.
The default is zero, which means everything should start OFF. If you want to
have everything starting on – and startling everyone, then use 255.
CHANNELS, how many channels to send. The DMX protocol
allows up to 512. If you don’t have that many devices you should limit this.
DMX defaults to 20. Note that the fewer channels that are sent the more packets
that can be sent each second.
STARTTYPE, the first byte in the packet is typically a
zero. Some devices can key off other start types. You’ll probably want to leave
this at zero unless you know what you’re doing.
DEVICE, this points to the serial device to use. This
defaults to /dev/ttyUSB0, which is the usual name assigned to the USB serial
(RS485) device. If you have a few serial USB devices, the name may change.
E131, enable unicast (sending to a specific IP) support. The DMX utility will receive E1.31 network packets and send to the DMX devices.
E131m, enable multicast support. The DMX utility will receive E1.31 network packets and send to the DMX devices.
UNIVERSE, this selects the universe that multicast will listen to. The default is one.
Note that dmx is (to some extent) a user space driver,
to make it operate in a similar way to a driver, it uses names pipes to
get/send information. (Ultimately, I’d
like to make it a driver, but for now it’s easier to work it (and build it) as
a utility.
Installation.
Download the driver here:
Download the DMX utility here:
(coming soon, once I clean it up, Download source here)
First, install the driver. We need to uninstall the
current driver (If loaded), make a backup, copy the new driver into place and install the
new driver. As stated above, the driver is based on the 3.10 version of
rapsbian (wheezy). The current driver on your system will be here:
/lib/modules/3.10.25+/kernel/drivers/usb/serial
The steps:
1. Make
sure you’re super user
a. sudo su
2. Get to driver land
a. cd /lib/modules/3.10.25+/kernel/drivers/usb/serial
3. If you have the USB-RS485 device installed, remove the driver.
a. rmmod pl2303
4. back up the current driver
a. cp pl2303.ko
pl2303.ko.works
5. copy the downloaded driver into place
a. cp /<download location> /pl2303.ko .
6. load the module
a. insmod pl2303.ko
7. Create
the named pipes and set some viable permissions.
a. mkdir
/var/dmx
b. mkfifo /var/dmx/dmxin
c. mkfifo /var/dmx/dmxout
d. chmod 777 /var/dmx/dmxin
8. copy
the utility into place
a. cp /<download location>/dmx /usr/local/sbin
9. Launch
DMX in background with the defaults
a. dmx
&
Now DMX should be happily running away, you should be
able to talk to it by sending “commands” to /var/dmx/dmxin. The basic command is channel#:Value. Channel is from 1 to 512 and Value is 0 to 255.
set
channels 3,4 & 7 to 40
echo 4:40 4:40 7:40 >/var/dmx/dmxin
echo
0:1 >/var/dmx/dmxin
cat
</var/dmx/dmxout
Instruct
dmx to exit:
echo
0:0 >/var/dmx/dmxin
Hey Peter, can you allready share your source ? im very interested into it. Thanks a lot.
ReplyDeleteThomas
Hi, can you post the source code? I'm interested too! Thank a lot. (:
ReplyDeletehi peter, can you post your code source , i'm very interested into it. thanks in advance :)
ReplyDeleteI did it with the GPIO part of the raspberry then I connect it with Artnet with OLA and Photon app https://photon-ios.com
ReplyDelete